
Elasticsearch, renowned for its search engine capabilities, boasts powerful security features for data protection. This comprehensive guide walks you through the process of setting up a Multi-Node ElasticSearch cluster with custom configurations on Linux. Starting from scratch, we cover user creation, stack limits, memory map configurations, and Elasticsearch deployment. The guide concludes with verification using CURL.

Elasticsearch, renowned for its power and scalability as a search engine, offers robust security features to safeguard your data. We are set to establish a Multi Node ES cluster with tailored configurations on linux machines. This blog post serves as a step-by-step guide, walking you through the process of configuring an Elastic cluster with everything from scratch using the settings outlined below.
- First, we will generate a user, choosing any name as an example (e.g., Cloud/Elastic).
- Next, we will define an open limit for the stack.
- Following that, we’ll establish memory map limits for the Elastic stack.
- Once memory limits are in place, we’ll proceed to deploy Elasticsearch.
- Go through the basic Elasticsearch configuration settings for example setting up cluster name, network configuration, TLS, SSL configuration, etc.
- With the setup complete, we’ll launch Elasticsearch as a daemon.
- To verify, we’ll use CURL to confirm the status and configurations of the Elasticsearch nodes.
SSH to Linux Machine and Create the elastic user:
Create elastic user
sudo useradd elastic
When you run sudo useradd elastic, you are instructing the system to create a new user named “elastic” with default settings. After running this command, a new user account is created, and you can use it to log in and perform various tasks on the system.
It’s worth noting that creating a user with useradd typically only creates the user account without setting a password or creating a home directory. You might need additional commands, such as passwd to set a password for the new user and usermod to add a home directory. The specific steps may vary based on your system configuration and requirements.

Open the limits.conf file as root:
sudo vi /etc/security/limits.conf

Add the following line near the bottom:
elastic – nofile 65536
Elasticsearch uses a lot of file descriptors or file handles. Running out of file descriptors can be disastrous and will most probably lead to data loss. Make sure to increase the limit on the number of open files descriptors for the user running Elasticsearch to 65,535 or higher.

Read more here : https://www.elastic.co/guide/en/elasticsearch/reference/current/file-descriptors.html
Open the sysctl.conf file as root:
sudo vi /etc/sysctl.conf

Add the following line at the bottom:
vm.max_map_count=262144
Elasticsearch also requires the ability to create many memory-mapped areas. The maximum map count check checks that the kernel allows a process to have at least 262,144 memory-mapped areas and is enforced on Linux only. To pass the maximum map count check, you must configure vm.max_map_count via sysctl to be at least 262144.

Load the new sysctl values:
sudo sysctl -p

Become the elastic user:
sudo su – elastic

Download the binaries for Elasticsearch 8.10.3 in the elastic user’s a home directory:

curl -O https://artifacts.elastic.co/downloads/elasticsearch/elasticsearch-8.10.3-linux-x86_64.tar.gz
Note : In case your machine has no internet connection then you can winscp to transfer the tar file to the machine.
Winscp download link : https://winscp.net/eng/index.php
Unpack the archive:
tar -xzvf elasticsearch-8.10.3-linux-x86_64.tar.gz
Remove the archive:
rm elasticsearch-8.10.3-linux-x86_64.tar.gz
Rename the unpacked directory:
mv elasticsearch-8.10.3 elasticsearch

Now We will Configure each node’s elasticsearch.yml file here as per specifications.
Log in to each node and become the elastic user:
- sudo su – elastic
- Open the elasticsearch.yml file:
- vi $ES_HOME/elasticsearch.yml
Elasticsearch Configuration File Overview
The supplied YAML file encompasses crucial configurations tailored for a production Elasticsearch cluster. Let’s delve into key sections:
Cluster Configuration
cluster.name: Your_Cluster_Name
Sets a descriptive name for your cluster. All nodes must share the same cluster name to join the same cluster.
Node Configuration
node.name: node-01
Specifies a descriptive name for your node. The default node name is the machine’s hostname upon Elasticsearch startup.
Path Configuration
path.data: /elastic_data_directory/ElasticData
path.logs: /elastic_log_directory/ElasticLogs
Defines data and log directory paths. Your Elastic data and logs will be stored in these paths.
Network Configuration
network.host: X.X.X.5
http.port: 9200
Configures network settings, making Elasticsearch accessible on the specified IP and port.
Discovery Configuration – Multi Node Cluster
discovery.seed_hosts: [“X.X.X.5”, “X.X.X.6”, “X.X.X.7”]
cluster.initial_master_nodes: [“node-01”, “node-02”, “node-03”]
Establishes the discovery process with seed hosts and initial master nodes. For a single-node cluster, use:
discovery.seed_hosts: [“X.X.X.5”]
cluster.initial_master_nodes: [“node-01”]
Security Configuration
xpack.security.enabled: true
xpack.security.transport.ssl.enabled: true
xpack.security.transport.ssl.verification_mode: certificate
xpack.security.transport.ssl.client_authentication: required
xpack.security.transport.ssl.keystore.path: elastic-certificates.p12
xpack.security.transport.ssl.truststore.path: elastic-certificates.p12
Enables X-Pack Security and configures SSL for transport.
Configuring TLS between nodes is the basic security setup to prevent unauthorised nodes from accessing your cluster.
Refer this documentation to create these certificates and read more about Security configuration: Set up basic security for the Elastic Stack | Elasticsearch Guide [8.11]
SSL HTTP Configuration
xpack.security.http.ssl.enabled: true
xpack.security.http.ssl.verification_mode: certificate
xpack.security.http.ssl.keystore.path: certificate.pfx
When you enable TLS on the HTTP layer it provides an additional layer of security to ensure that all communications to and from your cluster are encrypted.
For more information on creating certificates, refer to the official documentation.
Set up basic security for the Elastic Stack plus secured HTTPS traffic | Elasticsearch Guide [8.11]
Now we will configure the heap for each node per instructions.
Log in to each master node and become the elastic user:
sudo su – elastic
Open the jvm.options file:
vi /$ES_HOME/elasticsearch/config/jvm.options
Change the following lines:
-Xms1g
-Xmx1g
Log in to each data node and become the elastic user:
sudo su – elastic
Open the jvm.options file:
vi /$ES_HOME/elasticsearch/config/jvm.options
Change the following lines:
-Xms1g
-Xmx1g
Note : By default, Elasticsearch automatically sets the JVM heap size based on a node’s roles and total memory. Using the default sizing is recommended for most production environments.
To override the default heap size, set the minimum and maximum heap size settings, Xms and Xmx. The minimum and maximum values must be the same.
The heap size should be based on the available RAM:
Set Xms and Xmx to no more than 50% of your total memory. Elasticsearch requires memory for purposes other than the JVM heap. For example, Elasticsearch uses off-heap buffers for efficient network communication and relies on the operating system’s filesystem cache for efficient access to files. The JVM itself also requires some memory. It’s normal for Elasticsearch to use more memory than the limit configured with the Xmx setting.
Note : When running in a container, such as Docker, total memory is defined as the amount of memory visible to the container, not the total system memory on the host.
Read more about this here: Advanced configuration | Elasticsearch Guide [8.11] | Elastic
Lets Start Elasticsearch as a daemon on each node.
Log in to each node and become the elastic user:
sudo su – elastic
Switch to the elasticsearch directory:
cd /$ES_HOME/elasticsearch
Start Elasticsearch :
./bin/elasticsearch
When starting Elasticsearch for the first time, security features are enabled and configured by default. The following security configuration occurs automatically:
Authentication and authorization are enabled, and a password is generated for the elastic built-in superuser.
Certificates and keys for TLS are generated for the transport and HTTP layer, and TLS is enabled and configured with these keys and certificates.
An enrollment token is generated for Kibana, which is valid for 30 minutes.
The password for the elastic user and the enrollment token for Kibana are output to your terminal.
We recommend storing the elastic password as an environment variable in your shell.
Check the startup process by tailing logs:
Example:-

By default, Elasticsearch logs are output in a plain text format. If you want to modify the Elasticsearch log format to JSON, you can achieve this by adjusting the logging configuration. Here’s how you can do it:
Step 1: Locate the Log Configuration File
Find the log4j2.properties file or log4j2.yml file in your Elasticsearch configuration directory. The specific location may vary depending on your installation method and operating system.
For example, the path might be: /$ES_HOME/elasticsearch/log4j2.properties
Step 2: Modify the Log Configuration
Edit the log4j2.properties or log4j2.yml file.
Here is an example configuration to output logs in JSON format along with rolling logs. Choose the appropriate format based on whether your configuration file is log4j2.properties.
######## Server JSON ############################
appender.rolling.type = RollingFile # Configure the RollingFile appender
appender.rolling.name = rolling
appender.rolling.fileName = ${sys:es.logs.base_path}${sys:file.separator}${sys:es.logs.cluster_name}_server.json
appender.rolling.layout.type = ECSJsonLayout
appender.rolling.layout.dataset = elasticsearch.server
appender.rolling.filePattern = ${sys:es.logs.base_path}${sys:file.separator}${sys:es.logs.cluster_name}-%d{yyyy-MM-dd}-%i.json.gz
appender.rolling.policies.type = Policies
appender.rolling.policies.time.type = TimeBasedTriggeringPolicy
appender.rolling.policies.time.interval = 1
appender.rolling.policies.time.modulate = true
appender.rolling.policies.size.type = SizeBasedTriggeringPolicy
appender.rolling.policies.size.size = 256MB
appender.rolling.strategy.type = DefaultRolloverStrategy
appender.rolling.strategy.fileIndex = nomax
appender.rolling.strategy.action.type = Delete
appender.rolling.strategy.action.basepath = ${sys:es.logs.base_path}
appender.rolling.strategy.action.condition.type = IfFileName
appender.rolling.strategy.action.condition.glob = ${sys:es.logs.cluster_name}-*
appender.rolling.strategy.action.condition.nested_condition.type = IfAccumulatedFileSize
appender.rolling.strategy.action.condition.nested_condition.exceeds = 2GB
################################################
######## Server – old style pattern ###########
appender.rolling_old.type = RollingFile
appender.rolling_old.name = rolling_old
appender.rolling_old.fileName = ${sys:es.logs.base_path}${sys:file.separator}${sys:es.logs.cluster_name}_server.log
appender.rolling_old.layout.type = PatternLayout
appender.rolling_old.layout.pattern = [%d{ISO8601}][%-5p][%-25c{1.}] [%node_name]%marker %m%n
appender.rolling_old.filePattern = ${sys:es.logs.base_path}${sys:file.separator}${sys:es.logs.cluster_name}-%d{yyyy-MM-dd}-%i.old_log.gz
Note : The configuration for old style pattern appenders. These logs will be saved in *.log files and if archived will be in * .log.gz files. Note that these should be considered deprecated and will be removed in the future.
Read more here : https://www.elastic.co/guide/en/elasticsearch/reference/current/logging.html
Check if elasticsearch is running :
curl –cacert $ES_HOME/config/certs/certificate.pfx
-u elastic:$ELASTIC_PASSWORD https://localhost:9200
You should response like below :-
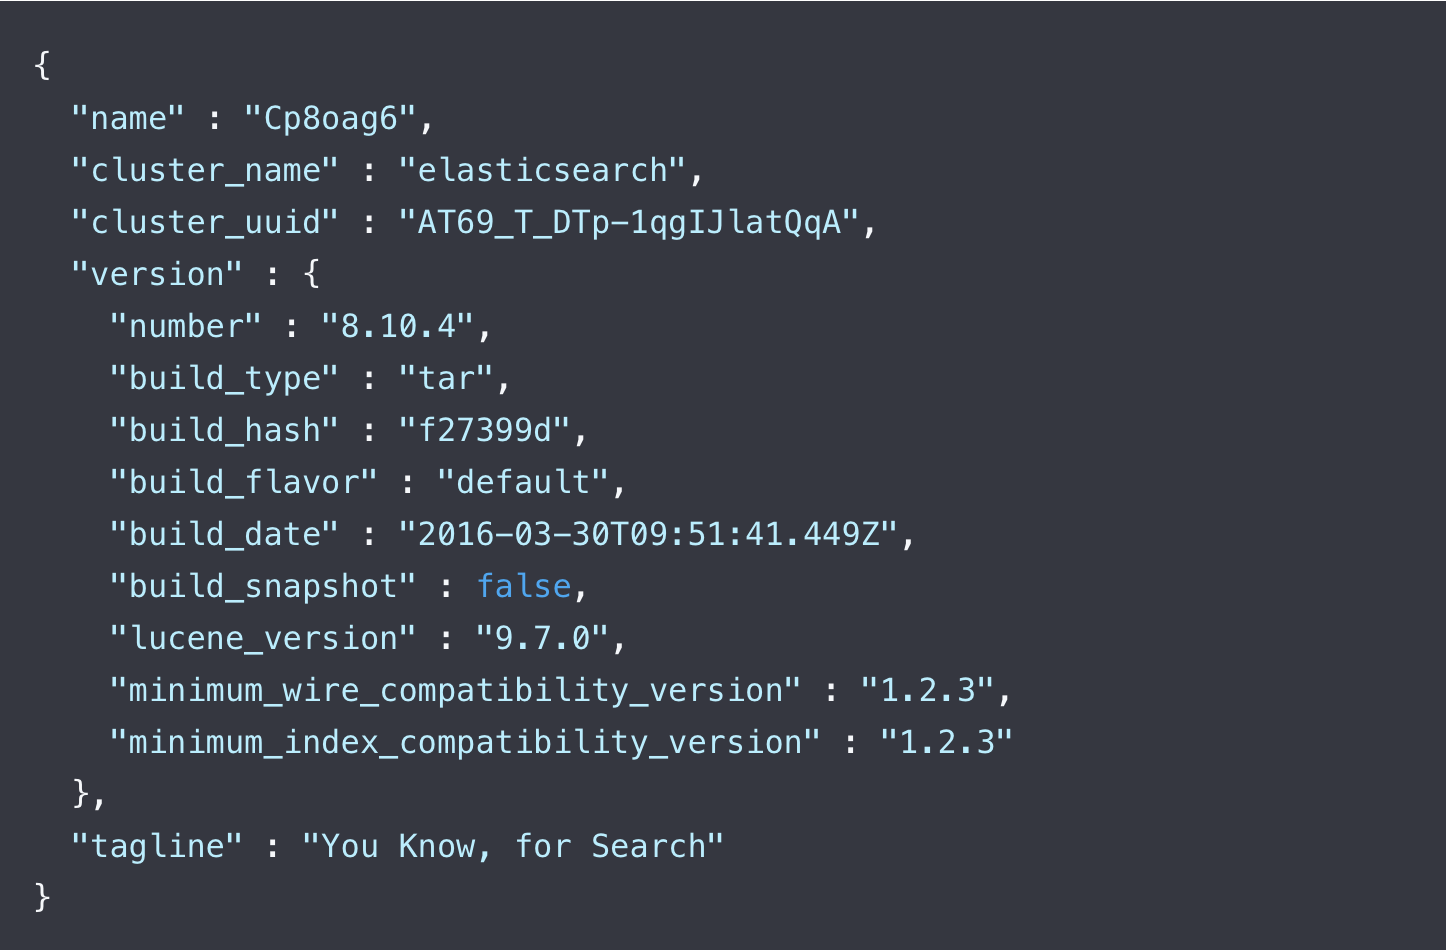
Sample response: cluster_name, uuid, version.number based on configuration and installed version.
Conclusion
This comprehensive guide covers setting up an Elastic cluster from scratch on Linux, ensuring security and optimal configurations. Stay tuned for upcoming blogs covering similar setups for Kibana and Enterprise Search on Linux. Your feedback is valuable, so feel free to share your suggestions in the comments.
Stay tuned for upcoming blogs:
- Configuring a Self-Managed Elastic Cluster with SSL: A Step-by-Step Guide for Kibana on linux.
- Configuring a Self-Managed Elastic Cluster with SSL: A Step-by-Step Guide for Enterprise Search on linux.

