Now that we have a relational data source, we can create a model, using the built-in Cloud Data Modeler tool.
We launch the modeler using the “Manage Models” menu item under Data screen menu (Screen 15).

Screen 15
Screen 16
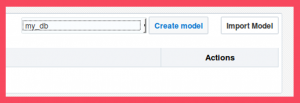
In the models page, ensure that the connection we created recently is chosen, and click the “Create model” button to develop a data model on top of this connection (Screen 16 & 17).
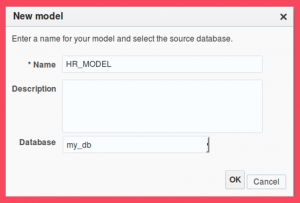
Screen 17
An fresh new model will show up as seen in the following screenshot (Screen 18). On the left pane, all tables and views are listed. The main screen has three sections, which list the defined Fact tables, dimension tables, and the joins among them.
We can either use the ADD buttons in the headers of FACT and DIMENSION table sections, choose a table, or view from the left pane to add to the model.
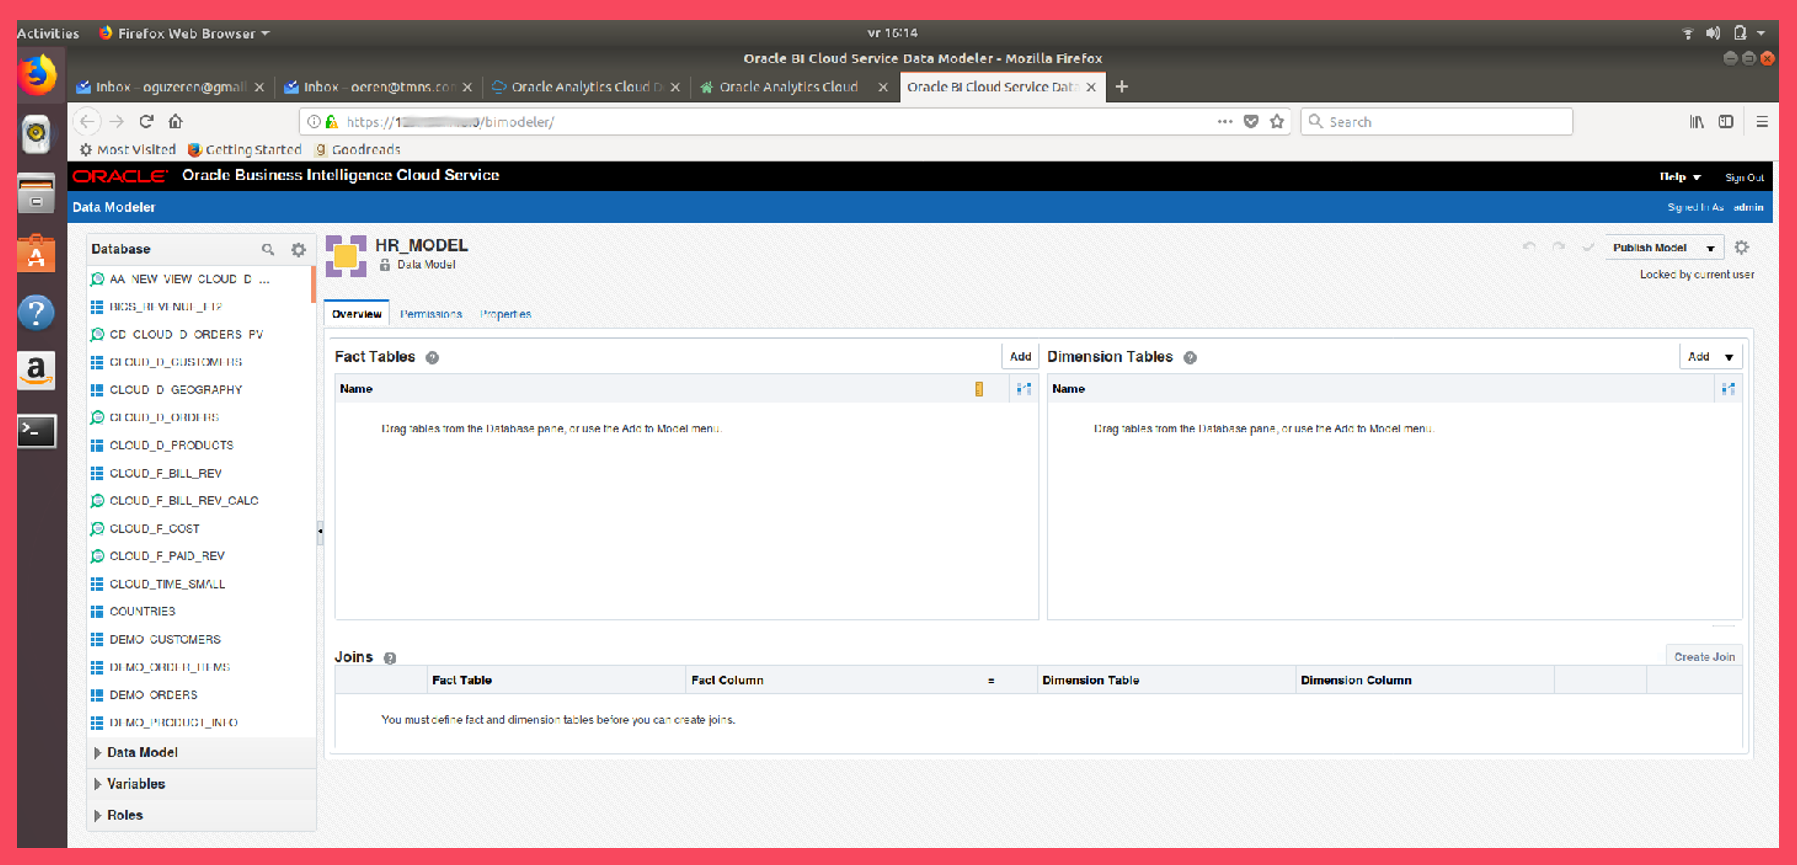
Screen 18
When we choose a table or view from the left pane, the main window will show the details of this table or view (Screen 19) . Our fact is a view named V_AA_CLOUD_F_BILL_REV.
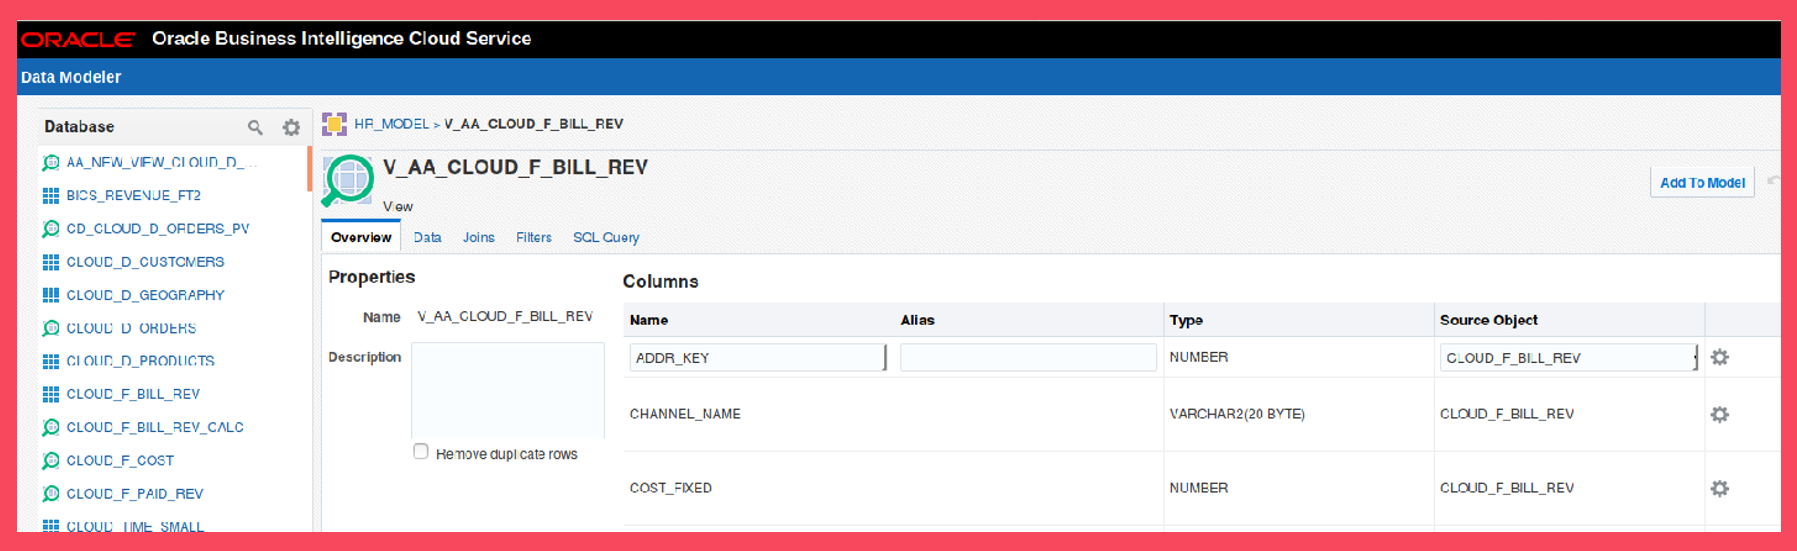
Screen 19
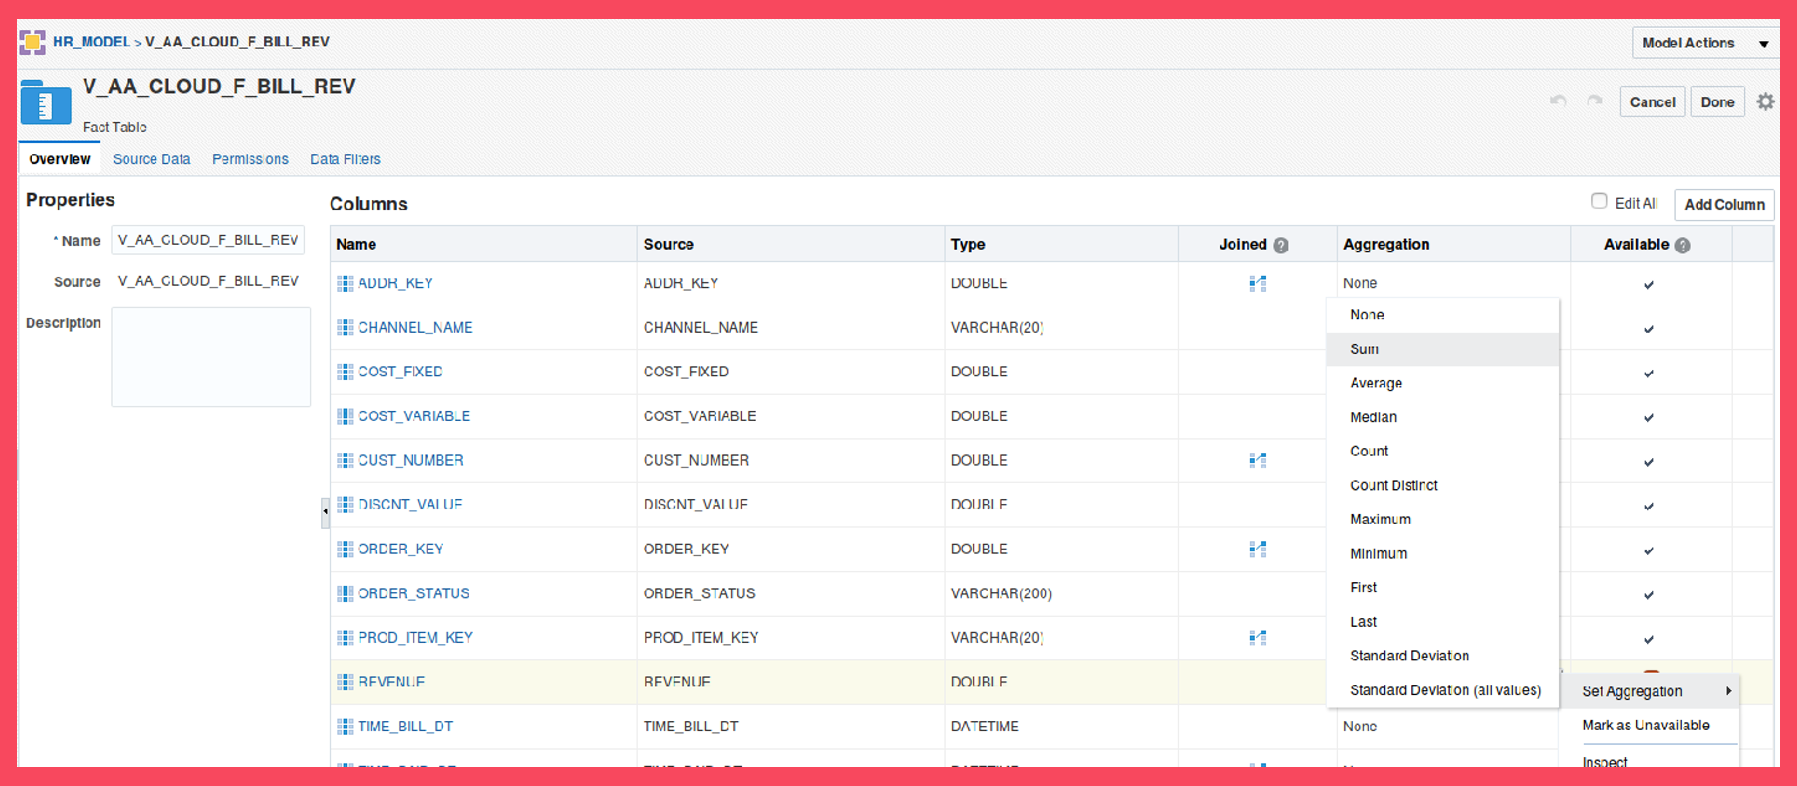
Screen 20
Since this is our fact table, we have to identify all measures it contains, and set an aggregation method for them. For this example, revenue is the only measure we will use. Modify this column to be aggregated with SUM (Screen 20).
When the “Add To Model” button is clicked, a pop-up will appear which asks whether this is a fact, or a dimension table. Choose “Add as Fact table” and proceed.

Screen 21
Let’s add the dimensions as well. We prefer the alternative method this time. Click the “Add” button in the Dimension Tables section and choose “Add Database Tables” (Screen 21). You can make a search by typing the first few letters in the list. Choose all four tables and click OK (Screen 22).
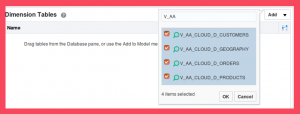
Screen 22
Now, we have a fact table and four dimensions listed (Screen 23).
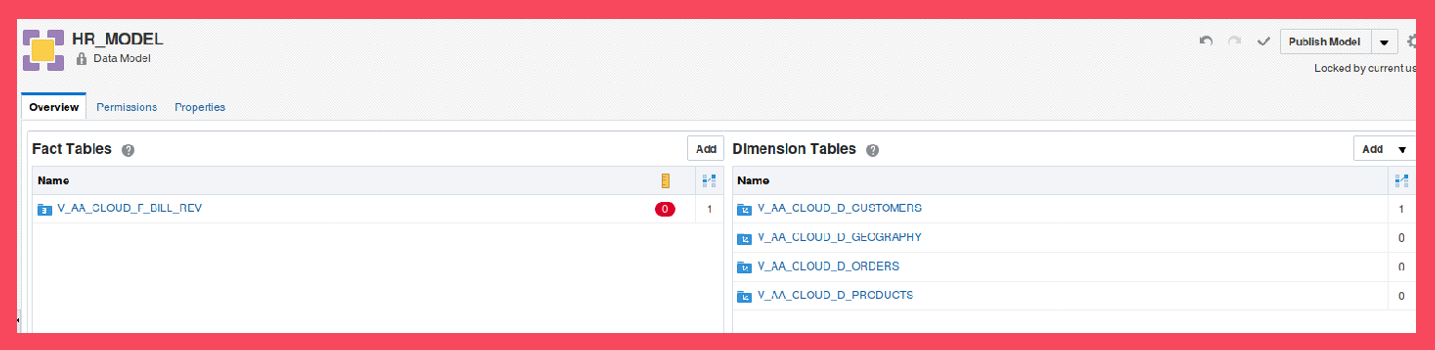
Screen 23
The last step is creating the joins among them (Screen 24).

Screen 24
The result will be as shown in the following screenshot (Screen 25).

Screen 25
Once the model is published, it is available for usage. Click on the “Publish Model” option on the top right of the screen to publish your model.
Step 6: Creating a Time Dimension in Oracle Analytics Cloud
Now that we have published a data model, we are ready to create a time dimension as well. Click “Next step” to go to Step 6: Creating a Time Dimension in Oracle Analytics Cloud.

