How do you deal with variable files that contain private data such as AWS access key ID, AWS secret access key, database passwords, application credentials, and so on, when you are going to push them to a git repository? Even if this repository is private, it is still a risk to expose them to the outside world. Storing them separately could be an option. However, these files are then not version controlled. Filenames change, locations change, passwords change from time to time, some new information appears, other is removed. Besides, you have to bother downloading these files where they need to be for each build.
How does git-secret come into play in this case? Git-secret is a bash tool. It encrypts files with the public keys of all users that you trust using GPG and stores them inside a git repository. So you have all the changes for every commit. These files can only be decrypted by those users you trust with their secret keys.
In this blog, we cover the following topics:
- creating GPG keys
- installing git-secret
- encrypting files using git-secret
- sharing the repo with other developers in your team
- decrypting files in Jenkins pipeline
Note that this blog is based on CentOS 7.
CREATING GPG KEYS
1. Use the following command to generate a key pair that consists of a public and a private key:
$ gpg2 --gen-key.
2. Select what kind of key you prefer:
Please select what kind of key you want:
(1) RSA and RSA (default)
(2) DSA and Elgamal
(3) DSA (sign only)
(4) RSA (sign only)
Your selection?
Press the Enter key to assign a default value if desired.
3. Choose the key size:
RSA keys may be between 1024 and 4096 bits long.
What keysize do you want? (2048)
The default one is 2048, which is sufficient for almost all users and represents an extremely strong level of security.
4. Choose when the key will expire:
Please specify how long the key should be valid.
0 = key does not expire
d = key expires in n days
w = key expires in n weeks
m = key expires in n months
y = key expires in n years
key is valid for? (0)
The default one, in which key does not expire, is not always a wise choice. Instead, you should consider your own situation, like when the email address on the key becomes invalid.
5. Enter y to finish the process:
Is this correct (y/N)?
6. Enter your name and email address for your GPG key in order to authenticate you as a real individual.
GnuPG needs to construct a user ID to identify your key.
Real name: Developer1
Email address: Developer1@gmail.com
7. At the confirmation prompt, enter the letter O to continue if all entries are correct, or use the other options to fix any problems.
Comment:
You selected this USER-ID:
"Developer1 <Developer1@gmail.com>"

Change (N)ame, (C)omment, (E)mail or (O)kay/(Q)uit?
8. Enter a passphrase for your secret key:
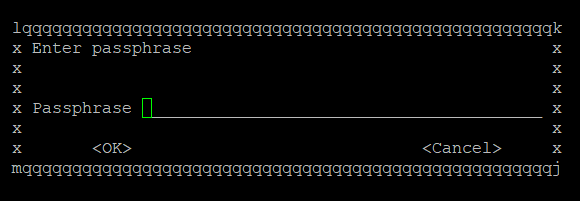
You will be asked to enter twice to ensure no typing errors.
9. Finally, your keys are complete and ready to use.
pub 2048R/7F8997F9 2020-02-08 [expires: 2021-02-07]
Key fingerprint = CDD1 B78C 37FE D444 24A0 EB3D 856A C611 7F89 97F9
uid Developer1 <Developer1@gmail.com>
sub 2048R/14117673 2020-02-08 [expires: 2021-02-07]
How to install GIT-secret on CentOS 7
The installation is very simple:
1. Find rpm package:
$ wget https://bintray.com/sobolevn/rpm/rpm -O bintray-sobolevn-rpm.repo
2. Move the repository to the folder where yum can find:
$ sudo mv bintray-sobolevn-rpm.repo /etc/yum.repos.d/
3. Install git-secret:
$ sudo yum install git-secret
GIT-secret usage
1. Before starting, make sure you have created gpg RSA key-pair: public and secret key identified by your email address.
2. Begin with an existing or new git repository where your files with private data.
![]()
3. Initialize this git repository as a git-secret repository using the command below, which will then create a .gitsecret/ folder.
$ git secret init
4. Add the first user to the git-secret repo keyring by running git secret tell Developer1@gmail.com

5. Add files you wish to encrypt inside the git-secret repository.
$ git secret add vars.yml
After the above command:
git-secret: these files are not in .gitignore: vars.yml
git-secret: auto adding them to .gitignore
git-secret: 1 item(s) added.
6. Encrypt all files which you have just added. The data will be encrypted with the public-keys described by the git secret tell command.
$ git secret hide
After the above command:
git-secret: done. 1 of 1 files are hidden.
7. Let’s check the status:
$ git status
Now the vars.yml has been hidden. There is only one vars.yml.secret file.
# On branch master
# Untracked files:
# (use "git add <file>..." to include in what will be committed)
#
#   .gitignore
#   .gitsecret/
#   production.yml
#   test.yml
#   vars.yml.secret
8. After using git secret hide to encrypt your data, it is safe to commit your changes.
$ git add .
$ git commit –m ‘initial commit’
9 files changed, 4 insertions(+)
create mode 100644 .gitignore
create mode 100644 .gitsecret/keys/pubring.gpg
create mode 100644 .gitsecret/keys/pubring.gpg~
create mode 100644 .gitsecret/keys/secring.gpg
create mode 100644 .gitsecret/keys/trustdb.gpg
create mode 100644 .gitsecret/paths/mapping.cfg
create mode 100644 production.yml
create mode 100644 test.yml
create mode 100644 vars.yml.secret
9. Let’s see what if you want read the vars.yml.secret file brutally.
$ vim vars.yml.secret
The data are already encrypted.

10. Later you can decrypt files with the following command.
$ git secret reveal –p ‘your password’
How to add users to GIT-secret
1. Suppose Developer2 is the user you want to add.
gpg: next trustdb check due at 2021-02-07
pub 2048R/F29ADD1D 2020-02-08 [expires: 2021-02-07]
Key fingerprint = 54F6 0D8B 51E4 789F 6DC1 738F ADAD 5D52 F29A DD1D
uid Developer2 <Developer2@gmail.com>
sub 2048R/8AA98590 2020-02-08 [expires: 2021-02-07]
2. Get his/her gpg public-key. You won’t need the secret key. After running the following command, you will find a file named publickey.asc in the current folder.
$ gpg --export "Developer2" > publickey.asc
3. Import this key into your gpg setup.
$ gpg –import publickey.asc
gpg: key F29ADD1D: public key "Developer2 <Developer2@gmail.com>" imported
gpg: Total number processed: 1
gpg: imported: 1 (RSA: 1)
4. Let’s have a look at the keys we have so far.
$ gpg --list-keys
The public key from Developer2 has been imported successfully.
-------------------------------
pub 2048R/7F8997F9 2020-02-08 [expires: 2021-02-07]
uid Developer1 <Developer1@gmail.com>
sub 2048R/14117673 2020-02-08 [expires: 2021-02-07]

pub 2048R/F29ADD1D 2020-02-08 [expires: 2021-02-07]
uid Developer2 <Developer2@gmail.com>
sub 2048R/8AA98590 2020-02-08 [expires: 2021-02-07]
5. Now add this person to your secrets repo.
$ git secret tell Developer2@gmail.com
6. Now, re-encrypt the files and then commit and push the newly encrypted files. (The -d options deletes the unencrypted file after re-encrypting it).
$ git secret reveal
$ git secret hide –d
$ git add .
$ git commit –m ‘second commit’
$ git push origin master
7. Let’s work on Developer2’s machine.
$ git clone https://github.com/username/git-secret-Example.git
$ ls
production.yml  README.md  test.yml  vars.yml.secret
No vars.yml file.
To prove this is really the Developer2’s machine:
$ gpg --list-keys

Decrypt the vars.yml.
$ git secret reveal –p ‘your password’
git-secret: done. 1 of 1 files are revealed.
$ ls
production.yml README.md test.yml vars.yml vars.yml.secret
Now the vars.yml is decrypted.
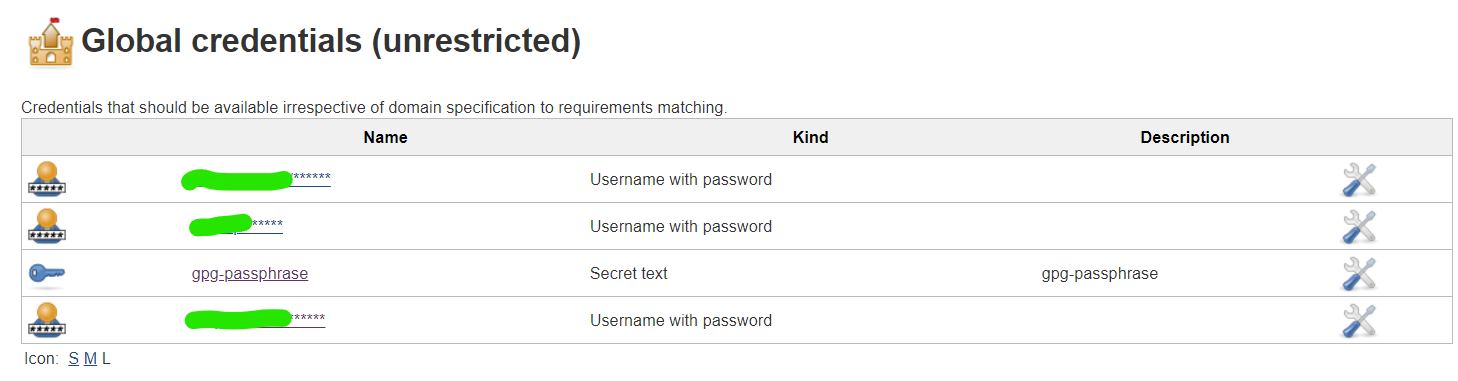
Jenkins pipeline
1. Add gpg passphrase in global credentials:
2. Setup the environment in the pipeline:
environment {
gpg_passphrase = credentials(“gpg-passphrase”)
}
3. In the first stage, execute this step:
sh “git secret reveal -p ‘$gpg_passphrase’ ”
4. Now Jenkins can automatically decrypt the encrypted files.
You did it!
Need some more help with setting up GIT-secrets or Jenkins pipelines? Contact us!

